


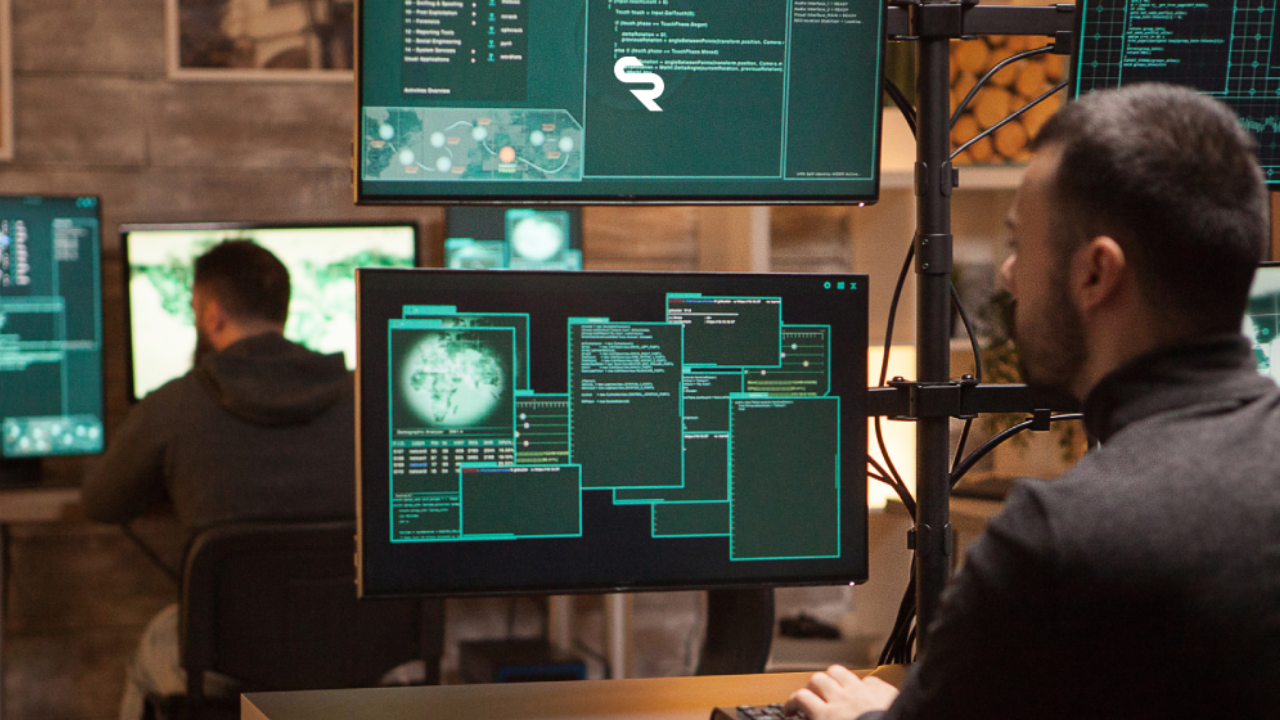
Reverse engineering malware is a critical skill for security analysts who want to understand and counter modern cyber threats. With the rise of obfuscation and anti-evasion techniques , disassembling and analyzing malware requires powerful tools and sophisticated strategies. In this article, we will explore a practical case of analyzing a hypothetical malware using tools such as IDA Pro , Ghidra , and Radare2 , revealing how modern malware authors hide their code. Additionally, we will provide a guide to set up a secure sandbox environment for dynamic analysis .
If you are a security analyst or an experienced developer, get ready to dive into advanced reverse engineering techniques.
Why is Reverse Engineering Essential Today?
Modern malware is no longer just a script: it is designed to evade detection and resist analysis. Techniques such as code obfuscation , anti-debugging , and polymorphism make static and dynamic analysis a challenge. Reverse engineering allows you to:
- Identify actual malware behavior (e.g. data exfiltration, ransomware).
- Discover exploited vulnerabilities or C2 (Command and Control).
- Develop effective signatures or countermeasures.
Open-source tools like Ghidra and Radare2, along with commercial solutions like IDA Pro, are at the heart of this process. Let’s see how to apply them in a real case.
Case Study: Hypothetical Malware Analysis
Let’s imagine a recent malware, ” ShadowCrypt “, a banking trojan that uses obfuscation and anti-evasion to steal credentials. Here’s how to deal with it step by step.
Step 1: Static Analysis with IDA Pro
- Loading Binary : Open the executable file in IDA Pro. If it is a PE (Windows), IDA will automatically identify sections such as .text (code) and .data .
- String Search : Use the “Strings” view to search for clues (e.g. C2 URLs or messages). They are often obfuscated, but here we find an encrypted string: XjK9pM2 .
- Disassembly : Navigate to the main function . We notice a loop that calls VirtualProtect to make a region of memory executable: a sign of code injection .
- Deobfuscation : The malware uses XOR with a static key to hide the strings. Let’s write an IDA script in Python to decrypt them:
key = 0x5A
addr = 0x00401000  # Indirizzo dati offuscati
for i in range(20):
    byte = get_byte(addr + i)
    print(chr(byte ^ key), end="")
Output: http://malicious.c2 . We found the C2 server!
Step 2: Exploring with Ghidra
Ghidra is free and excellent for decompiling. Let’s import the same binary:
- The decompiler reveals a function that encrypts data with AES before exfiltration.
- We notice anti-VM checks ( CPUID to detect hypervisors). This is a classic anti-evasion trick .
Step 3: Debugging with Radare2
Radare2 is lightweight and scriptable. Let’s open it with:
r2 -d shadowcrypt.exe- Set a breakpoint on VirtualProtect ( db 0x00401500 ) and start ( dc ) .
- Look at the logs ( dr ) : The malware checks if a debugger is present by checking IsDebuggerPresent .
- Bypass with dps 0x00401500 nop to neutralize the check.
Anti-Evasion Techniques Discovered
- Anti-Debugging :Calls to IsDebuggerPresen tand timing checks.
- Obfuscation : XOR on strings and packing of code (e.g. modified UPX).
- Anti-VM : Checks specific registries to detect virtualized environments.
Tools Comparison: IDA Pro, Ghidra and Radare2
- IDA Pro : Ideal for detailed analysis and complex scripts, but expensive. Perfect for professionals.
- Ghidra : Free, with powerful decompilation. Great for beginners or those working on a budget.
- Radare2 : Lightweight and open-source, excellent for fast debugging and automation.
For “ShadowCrypt”, IDA Pro excelled in identifying the injection, while Ghidra made it easier to understand AES.
Setting Up a Secure Sandbox Environment for Dynamic Analysis
Static analysis is not enough: to see “ShadowCrypt” in action, you need a sandbox. Here’s how to set one up:
Requirements
- Virtual Machine (e.g. VirtualBox or VMware).
- Guest operating system (e.g. isolated Windows 10).
- Tools: Process Monitor, Wireshark, Regshot.
Steps
- Isolation : Create a VM with no initial Internet connection. Use a “host-only” network.
- Snapshot : Take a base image to restore the clean state.
- Monitoring Tools : Run Process Monitor to trace system calls and Wireshark to capture traffic (activate network only afterwards).
- Controlled Execution : Launch the malware and observe. “ ShadowCrypt ” attempts to contact the C2 and modifies registry keys (e.g. HKCU\Software ).
- Cleanup : Restore the snapshot after analysis.
Tip : Use Flare VM or REMnux for a pre-configured sandbox with analysis tools.
Conclusion
Reverse engineering modern malware like “ShadowCrypt” requires advanced skills and tools like IDA Pro , Ghidra , and Radare2 . Uncovering obfuscation and anti-evasion techniques is challenging, but critical to protecting systems and networks. With a well-configured sandbox environment, you can complete dynamic analysis and gain a comprehensive view of malware behavior.
Ready to put these techniques to use? Try disassembling a real sample and share your results.


