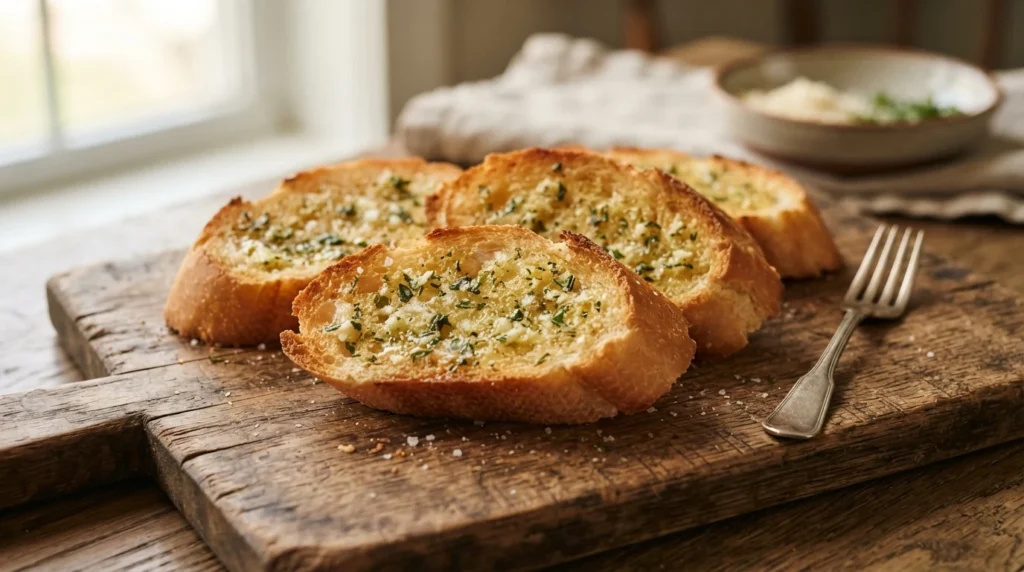

How to Make Perfect Air Fryer Garlic Bread
Transforming stale or fresh bread into restaurant-quality garlic bread in an air fryer requires more than just tossing slices in oil. The primary challenge is ensuring the butter melts evenly across the surface without pooling, which leads to soggy spots and uneven browning. By preparing a thin, uniform butter layer and adjusting the cooking time based on bread thickness, you can achieve a consistent crunch throughout.
Recipe Overview
- Servings: 4 slices
- Prep Time: 10 minutes (includes butter preparation)
- Air Fry Time: 6–9 minutes per batch
- Total Time: 15–20 minutes
This method uses a standard air fryer basket with a capacity of approximately 4–6 slices. The bread should be sliced to a thickness of roughly 0.75 inches (1.9 cm) for optimal texture. If using thicker loaves, increase time by 2 minutes; thinner slices may require less time.
Equipment Requirements
Air fryers vary in wattage and basket geometry. This recipe assumes a standard home air fryer with a non-stick basket or tray. Do not use accessories that block airflow, such as deep baking dishes, unless the manufacturer explicitly states they are compatible. Preheating is generally recommended for crispier results, though many modern models cook well without it.
Ingredients
- Bread: 4 slices of sliced white bread, unsliced, crusts removed or included based on preference (approx. 100g per slice, raw)
- Unsalted Butter: 60 grams, softened to room temperature
- Garlic Powder: 5 grams
- Dried Parsley: 3 grams
- Salt: 2 grams (if using unsalted butter)
Instructions
- Prepare the Butter Mixture: In a small bowl, combine the softened butter, garlic powder, dried parsley, and salt. Stir vigorously until the mixture is smooth and homogenous. This ensures every slice receives an even coating.
- Preheat the Air Fryer: Set the air fryer to 375°F (190°C). Preheat for 2–3 minutes if your model allows, as this helps start the crisping process immediately upon loading.
- Load the Basket: Arrange the bread slices in a single layer within the basket. Ensure they do not overlap or touch; space them slightly apart to allow hot air to circulate around each slice. Overcrowding traps steam and results in steamed rather than fried bread.
- Apply Butter: Using a small offset spatula or knife, spread the prepared butter mixture evenly over the top surface of each bread slice. The layer should be thin but complete, covering the entire face without dripping into the basket. Avoid adding excessive butter that could overflow when heated.
- Cooking Process: Air fry at 375°F (190°C) for 6 minutes. Open the basket and check the color of the bread. If the edges are not golden brown or if the center looks pale, continue cooking in 1-minute intervals. Do not exceed 9 minutes total, as this can begin to dry out the interior.
- Doneness Check: The bread is done when the top is deeply golden and crisp, and the bottom (if visible) shows no signs of steaming. The butter should have melted into the crumb rather than forming a separate liquid layer on the surface.
Troubleshooting Common Issues
- Soggy Bottom: Caused by too much butter or overlapping slices. Use less butter and ensure space between bread pieces for airflow.
- Burnt Edges: Indicates the temperature was held too long or the slice was too thin. Reduce cooking time by 1–2 minutes next time.
- Pale Center: Suggests insufficient heat transfer. Increase temperature to 380°F (193°C) for the last 2 minutes of cooking, monitoring closely to avoid burning.
Serving and Storage
Allow the garlic bread to rest for 2–3 minutes after removing it from the air fryer. This lets the butter reabsorb slightly into the crumb without making the bread soggy again. Serve immediately while warm or at room temperature.
To store, place cooled slices in an airtight container and refrigerate for up to 5 days. For reheating, return the bread to the air fryer at 350°F (175°C) for 2–4 minutes until warmed through and slightly crisp again. Do not microwave, as this will make the bread rubbery.
Frequently Asked Questions
Can I use frozen garlic bread?
If using frozen breaded or stuffed garlic bread, check the package instructions first. Typically, these require air frying at 375°F (190°C) for 8–12 minutes, flipping halfway through.
Is it safe to eat the bread if the butter hasn’t melted?
The bread itself is safe once cooked to an internal temperature of 165°F (74°C). The melting status of the butter is a matter of preference and does not affect food safety, provided the bread has been heated thoroughly.