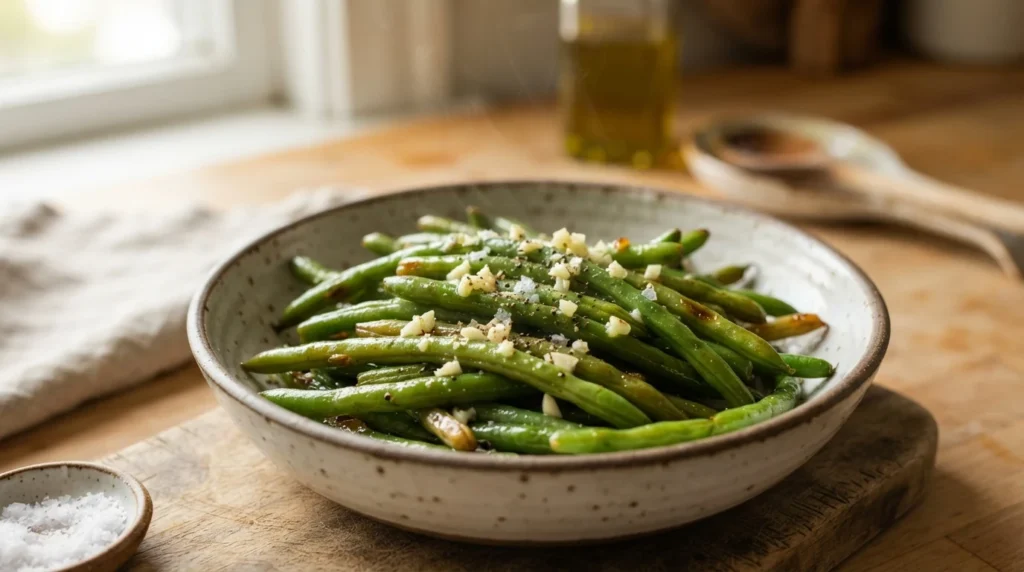

Savory green beans are a staple of many households, often served with pasta or rice. For those following a ketogenic lifestyle, swapping these high-carbohydrate staples for sautéed green beans with garlic butter offers a satisfying, low-carb alternative that still delivers rich flavor and texture.
Quick Overview
This dish requires minimal prep time but yields a flavorful side in under 15 minutes. It serves four people as a main component or a substantial vegetable side. The technique focuses on quick searing to develop color and caramelization, followed by a simple butter-garlic finish that enhances the natural taste of the beans without adding unnecessary sugar or carbs.
Ingredients
Green Beans: 500g (trimmed ends removed), fresh or frozen. If using fresh, ensure they are crisp-tender when cooked. Frozen options are excellent for consistency.
Butter: 100g unsalted, preferably high-fat content for better texture and flavor retention.
Garlic: 3 cloves (approx. 9g), minced or finely chopped.
Lemon Juice: 20ml (about 1 tbsp), freshly squeezed.
Salt & Pepper: To taste, approximately 5g salt and 3g black pepper for a standard serving size.
Method
- Preparation: Rinse the green beans thoroughly under cold running water to remove any debris. If using fresh beans, trim about 1cm off both ends with a knife or vegetable peeler. Pat them completely dry with paper towels before cooking; moisture is the enemy of good sautéing.
- Searing: Heat a large skillet over medium-high heat until it is very hot but not smoking. Add the butter and allow it to melt, swirling the pan to coat the bottom evenly. Once foaming stops, add the green beans in a single layer if possible. If necessary, cook in two batches to avoid overcrowding.
- Cooking: Sauté for 4 to 6 minutes, stirring occasionally, until the beans are bright green and slightly tender-crisp. They should still have a firm bite when pierced with a fork. Overcooking at this stage leads to a mushy texture.
- Aromatics: Add the minced garlic to the pan immediately after removing the beans or during the last minute of cooking if you prefer less raw garlic flavor. Sauté for another 30 seconds to 1 minute until fragrant, being careful not to burn it.
- Finishing: Remove from heat and stir in the lemon juice. Season generously with salt and pepper. Toss gently to coat the beans evenly.
Troubleshooting Common Issues
Why are my green beans watery?
Water release is normal during sautéing, but excessive pooling indicates insufficient drying or overcrowding. Ensure the beans are thoroughly dried before cooking and do not add more than one batch at a time to the pan.
How do I prevent burning garlic?
Garlic burns quickly in high heat. Add it only when the butter is melted and the oil has separated slightly, then reduce the heat to medium-low for the final minutes of cooking.
Can I use frozen green beans?
Yes, but they may release more water initially. You may need to drain them well after thawing or sauté on higher heat to evaporate excess moisture before adding aromatics.
Substitutions and Variations
If you prefer a nutty flavor, add 15g of toasted almonds during the last minute of cooking. For a spicy kick, incorporate 5ml of cayenne pepper or red chili flakes. Avoid replacing butter with margarine or non-dairy spreads, as they lack the fat content needed for keto and proper mouthfeel.
Storage and Reheating
Store cooled beans in an airtight container in the refrigerator for up to 3 days. They freeze well for up to 2 months. To reheat, warm them gently in a skillet over low heat with a splash of water or broth to prevent drying out. Avoid microwaving alone, as it can make them soggy.
Frequently Asked Questions
Is this dish truly keto-friendly?
Yes, green beans are naturally low in carbohydrates, and this recipe contains no added sugars or high-carb ingredients. However, always check packaged goods for hidden additives if you substitute any components.
How long does it take to prepare?
The entire process takes about 15 minutes from start to finish, including prep and cooking time.