
This lighter apple pie keeps the warm cinnamon-apple flavor of traditional pie while reducing sugar and fat. It’s designed to be more Weight Watchers–friendly by using a lighter crust and a naturally sweet apple filling.
Servings: 8 slices
Prep Time: 25 minutes
Bake Time: 45–55 minutes
🛒 Ingredients
For the Crust
- 1¼ cups all-purpose flour
- ¼ tsp salt
- 2 tbsp granulated sweetener (such as monk fruit or a baking sweetener)
- 3 tbsp cold light butter, cut into cubes
- 3 tbsp plain nonfat Greek yogurt
- 3–4 tbsp ice water
For the Apple Filling
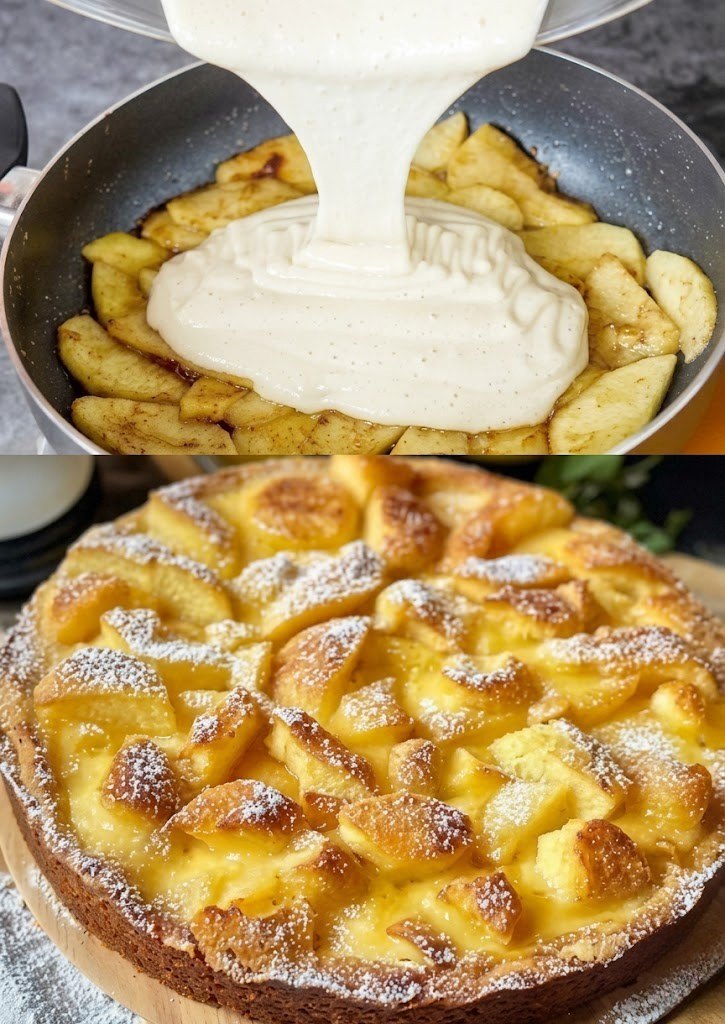
- 6 medium apples (about 800–900 g), peeled, cored, and thinly sliced
- Good choices: Granny Smith apples, Honeycrisp apples, or a mix
- ¼ cup brown sugar substitute or sweetener
- 1 tsp ground cinnamon
- ¼ tsp ground nutmeg
- 1 tbsp lemon juice
- 1 tsp vanilla extract
- 1 tbsp cornstarch
Optional Topping
- 1 tbsp milk (or plant milk)
- 1 tsp coarse sugar or sweetener for sprinkling
👩🍳 Step 1: Make the Crust
In a bowl, whisk together:
- flour
- salt
- sweetener
Add the cold butter.
Using a pastry cutter or your fingertips, work the butter into the flour until the mixture resembles coarse crumbs.
Mix in the Greek yogurt.
Add ice water, 1 tablespoon at a time, until the dough just comes together.
Important
Do not overwork the dough. Overmixing can make the crust tough.
Form into a disk, wrap, and refrigerate for 30 minutes.
🍏 Step 2: Prepare the Apple Filling
In a large bowl combine:
- sliced apples
- sweetener
- cinnamon
- nutmeg
- lemon juice
- vanilla
- cornstarch
Toss well until all apples are coated.
Let stand for 10–15 minutes.
This allows the apples to release some juices and absorb the flavors.
🔥 Step 3: Preheat the Oven
Preheat oven to:
190°C (375°F)
Lightly grease a 9-inch pie dish.
🥧 Step 4: Roll Out the Dough
Place the chilled dough on a lightly floured surface.
Roll into a circle about 11–12 inches in diameter.
Transfer carefully to the pie dish.
Press gently into the bottom and sides.
Trim excess dough if needed.
🍎 Step 5: Fill the Pie
Spoon the apple mixture into the crust.
Arrange apples evenly and slightly mound them in the center.
The apples will shrink somewhat during baking.
✨ Step 6: Finish the Top
For a simple pie:
- Leave open-faced.
For a decorative look:
- Use dough scraps to create strips or shapes on top.
Brush exposed crust lightly with milk.
Sprinkle with coarse sweetener if desired.
🔥 Step 7: Bake
Bake at 190°C (375°F) for:
- 20 minutes
Then reduce temperature to:
175°C (350°F)
Bake another 25–35 minutes.
The Pie Is Ready When:
- apples are tender
- filling is bubbling
- crust is lightly golden
If the edges brown too quickly, cover them loosely with foil.
❄️ Step 8: Cool Completely
Allow the pie to cool for at least 2 hours before slicing.
Why?
Cooling helps the filling set and makes cleaner slices.
🍽️ Serving Suggestions
Serve with:
- a spoonful of nonfat Greek yogurt
- light whipped topping
- a sprinkle of cinnamon
💡 Tips for Success
Use a Mix of Apples
Combining tart and sweet apples creates the best flavor.
Slice Evenly
Uniform slices cook more evenly.
Don’t Skip Cooling
A hot pie will be runny.
Add More Spice
For extra warmth, add a pinch of allspice or cardamom.
🌟 Variations
🍇 Apple Berry Pie
Add 1 cup blueberries or raspberries.
🍂 Apple Crumble Pie
Top with a light oat crumble made from:
- rolled oats
- cinnamon
- sweetener
🍐 Apple Pear Pie
Replace 2 apples with ripe pears.
🧊 Storage
- Refrigerator: up to 4 days
- Freezer: up to 2 months
Store covered.
Approximate Nutrition (Per Slice)
- Calories: 140–180
- Protein: 2–4 g
- Fat: 3–5 g
- Fiber: 3–4 g